
A poorly laid floor is one of the most expensive mistakes a homeowner can make. Boards that lift, patterns that drift out of alignment, or gaps that appear within months of installation can cost thousands to fix and leave a room looking far worse than before. Herringbone flooring, with its intricate interlocking pattern, demands more precision than almost any other style. Get it right, however, and you have a floor that transforms a room, adds genuine property value, and lasts decades. This guide walks you through every stage, from choosing materials to the finishing coat, with honest advice drawn from real installation experience in Glasgow and Central Scotland.
Key Takeaways
| Point | Details |
|---|---|
| Preparation is crucial | Meticulous subfloor prep and acclimating materials are vital for lasting herringbone results. |
| DIY requires patience | Precision and time are needed; expert help minimises costly mistakes, especially for first-timers. |
| Choose the right materials | Select suitable wood or LVT and always check moisture and levelling before installation. |
| Professional help adds value | Regional specialists bring experience and can transform the finished look and property value. |
Understanding herringbone flooring
Herringbone is a specific laying pattern where rectangular planks are set at 90-degree angles to each other, creating a distinctive V-shaped zigzag. It is often confused with chevron, where planks are cut at an angle so the points meet precisely. Herringbone planks are cut square at both ends, which actually makes them easier to source but no less demanding to install correctly.
The pattern has been used in European homes for centuries, and its popularity in Scottish interiors has grown steadily as homeowners look for something more characterful than straight-plank floors. The visual effect is striking: the diagonal lines draw the eye across the room and can make a narrow hallway or modest living room feel considerably wider and longer. As noted by flooring specialists, herringbone enhances room size perception and carries a timeless appeal, though it can occasionally overwhelm very compact spaces if the plank width is not scaled correctly.
Here is a quick summary of the key advantages and considerations:
- Visual impact: Creates depth and movement that flat-laid floors simply cannot match
- Timeless style: Works equally well in period properties and modern interiors
- Added value: Buyers and valuers consistently respond positively to herringbone floors
- Higher complexity: Requires more cuts, more planning, and greater skill than straight laying
- Potential for waste: Expect 10 to 15 percent more material than a standard lay
- Cost: Installation typically costs more per square metre due to the labour involved
“The higher installation cost of herringbone is consistently justified by its durability and the value it adds to a property over the long term.”
For Glasgow homes, particularly Victorian and Edwardian tenements, herringbone is a natural fit. The proportions of those rooms suit the pattern well. If you are unsure whether it suits your space, expert wood flooring installers can assess your room dimensions and recommend the right plank width before you commit.
With the appeal of herringbone clear, now discover exactly what is involved in the installation process.
Essential tools and materials checklist
Before a single plank touches the floor, you need the right equipment assembled and your materials properly prepared. Rushing this stage is where most DIY projects begin to unravel.
| Tool or material | Wood flooring | LVT (Luxury Vinyl Tile) |
|---|---|---|
| Moisture meter | Essential | Essential |
| Levelling compound | Often required | Often required |
| Flooring adhesive | Recommended | Essential |
| Rubber mallet | Yes | Yes |
| Pull bar and tapping block | Yes | Yes |
| Mitre saw or table saw | Yes | Yes (score and snap also possible) |
| Spacers | Yes | Yes |
| Chalk line or laser level | Yes | Yes |
| Underlayment | Depends on product | Rarely required |
| Finishing nails or staples | Solid wood only | No |
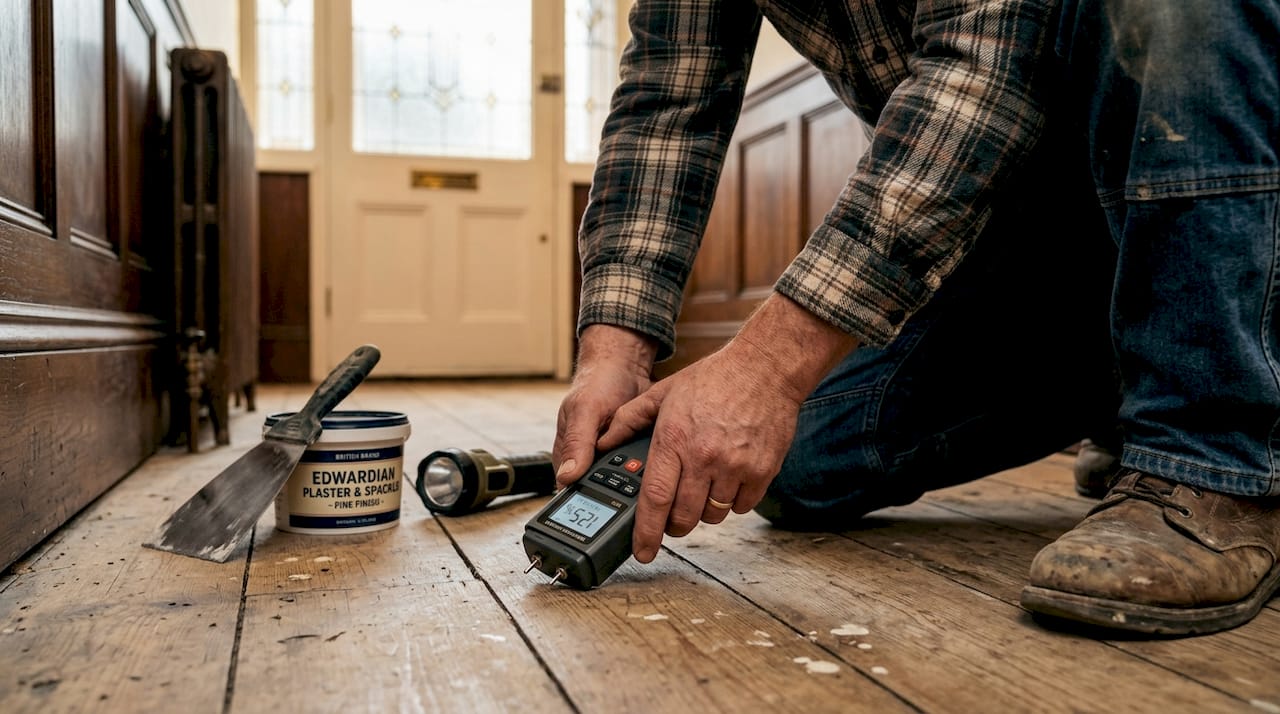
For subfloor preparation specifically, a moisture meter is non-negotiable. Scotland’s climate means subfloors, especially concrete ones in older Glasgow properties, can hold surprising levels of moisture even when they appear dry to the touch.
Must-haves:
- Moisture meter and damp-proof membrane if readings are elevated
- Self-levelling compound for any dips or high spots
- Appropriate adhesive for your chosen flooring type
- Chalk line for setting out your centre point and guide lines
Nice-to-haves:
- Laser level for large open-plan rooms
- Knee pads (you will thank yourself later)
- A dedicated offcut board for protecting plank edges during tapping
As installation specialists confirm, subfloor flatness tolerances must be met and materials should be acclimated for a minimum of 48 hours before installation begins.
Pro Tip: Always order a minimum of 12 percent extra material to account for the angled cuts herringbone demands. Calculate your room area, add 12 percent, and then round up to the nearest pack. Running out mid-installation and trying to match a batch later is a genuine risk with wood flooring.
Having the right materials ready makes all the difference. Once assembled, you are set for successful preparation and laying.
Subfloor preparation: The foundation of success
No amount of skill during laying will compensate for a subfloor that is not genuinely ready. This is the stage that separates lasting floors from ones that creak, lift, or develop gaps within a year.
Follow these steps carefully:
- Clear the room completely. Remove all furniture, skirting boards, and any existing floor coverings. Do not try to lay over old flooring unless specifically advised to do so by the manufacturer.
- Check for moisture. Use a calibrated moisture meter across multiple points, paying particular attention to corners and areas near external walls. In Glasgow’s older housing stock, damp can be localised and easy to miss.
- Assess the level. Use a long straightedge or spirit level across the entire floor. Any dip or rise greater than 3mm over a 1.8-metre span needs addressing.
- Apply levelling compound. Mix and pour self-levelling compound into low spots, following the manufacturer’s instructions precisely. Allow full curing time before proceeding.
- Sand down high spots. A belt sander or angle grinder with a grinding disc handles stubborn high points on concrete.
- Clean thoroughly. Sweep, vacuum, and if necessary damp-mop the surface. Any grit or debris left underneath will cause problems later.
“A clean, dry, and level subfloor surface with thorough moisture checks and levelling compound applied to low areas is the essential foundation for herringbone installation.”
Pro Tip: Glasgow’s climate is wetter and cooler than much of the UK, which means timber acclimatisation is especially important. Leave your planks stacked loosely in the room where they will be installed for at least 48 hours. This allows the wood to adjust to the ambient temperature and humidity, dramatically reducing the risk of expansion or contraction after fitting.
With your groundwork meticulously prepared, the satisfaction comes in setting out the herringbone and beginning the installation itself.
How to lay herringbone flooring: Step-by-step guide
Setting out correctly is everything. A mistake in the first two rows will multiply across the entire floor.
- Find the centre point. Measure the room and snap chalk lines from the midpoints of opposite walls. Where they cross is your starting point.
- Dry lay the first section. Before applying any adhesive, lay out a section of the pattern from the centre point to check alignment and visualise the finished result. Adjust your starting point if the border cuts look too narrow at the edges.
- Fix your guide batten. Nail a straight timber batten along one of your chalk lines. This acts as a physical guide for your first row and keeps everything square.
- Lay the first two rows. Apply adhesive to the subfloor in manageable sections. Press each plank firmly, using a rubber mallet and tapping block to close joints without damaging edges.
- Continue the pattern. Work outward from the centre, alternating the direction of each plank. Check alignment against your chalk lines every three to four rows.
- Cut border pieces. Use a mitre saw to cut the edge pieces to fit. Take time with these cuts; rough edges at the perimeter undermine the whole effect.
| Factor | DIY installation | Professional installation |
|---|---|---|
| Time | 3 to 7 days for a typical room | 1 to 3 days |
| Risk of misalignment | High without experience | Very low |
| Material waste | Higher due to cutting errors | Minimised |
| Finish quality | Variable | Consistently high |
| Cost | Lower upfront | Higher upfront, lower long-term risk |
As flooring guides consistently confirm, DIY herringbone is challenging due to the precision required, and professionals are strongly recommended for first-timers or larger areas to avoid costly misalignment errors.
Pro Tip: Use a laser level rather than just chalk lines for rooms over 20 square metres. A chalk line can sag slightly over long distances, introducing a subtle drift that becomes obvious by the time you reach the far wall.
If at any point the pattern starts to look skewed or joints are not closing cleanly, stop. Continuing over a misalignment compounds the problem. This is the moment to consider professional installation options before more material is wasted.
Once your pattern is installed, the finishing touches make all the difference to ensure lasting quality and aesthetic.
Finishing, aftercare and finding professional help
The installation is complete, but the floor is not finished until the details are right. Skipping this stage leaves a floor that looks unpolished and is more vulnerable to damage.
Finishing checklist:
- Fit expansion gap cover strips or reinstall skirting boards to conceal the perimeter gap
- Add door threshold strips where the floor meets adjacent rooms or different floor surfaces
- Apply beading or quad moulding where skirting does not fully cover the gap
- For unfinished solid wood, apply the specified oil, lacquer, or hardwax oil in thin, even coats
- Allow full curing time before replacing furniture (typically 24 to 72 hours depending on the finish)
Essential aftercare habits:
- Use felt pads under all furniture legs without exception
- Sweep or vacuum regularly with a soft-bristle attachment to prevent grit acting as an abrasive
- Wipe up spills immediately; standing water is the enemy of any wood floor
- Avoid steam mops entirely on wood or engineered floors
- Re-oil or re-coat solid wood floors every two to three years depending on traffic
When it comes to hiring a professional in Glasgow or Central Scotland, the local market has strong options.
Key things to check before hiring any fitter:
- Ask specifically for herringbone installation experience, not just general wood flooring
- Request to see photos of completed herringbone projects
- Confirm they will carry out a subfloor moisture check before starting
- Get a written quote that includes preparation, installation, and finishing
For guaranteed results, finding expert flooring installers who specialise solely in wood floors is always the safest route.
With the floor installed and finished, what truly matters is its longevity and ongoing value. Here is a deeper look at the real-world Scottish perspective.
What most guides miss about herringbone floors in Scotland
Most installation guides are written for a generic audience. They do not account for the specific challenges of Glasgow’s housing stock or Scotland’s climate, and that gap in knowledge is where projects go wrong.
Older Scottish properties, particularly pre-1920 tenements and sandstone terraces, frequently have subfloors that are neither flat nor dry by modern standards. Suspended timber subfloors flex. Concrete floors in ground-floor flats can have rising damp that only a proper moisture test will reveal. These are not edge cases; they are common realities that require specialist knowledge to navigate correctly.
Pattern misalignment is the other issue guides consistently underplay. Even a 1mm drift per metre compounds to a visually obvious problem by the time you reach the far wall. We have seen rooms where a homeowner was three-quarters of the way through a beautiful oak herringbone before realising the pattern had drifted. The only fix was to lift and relay from the centre. That is a costly and demoralising outcome that a professional would have prevented in the first two rows.
Herringbone is genuinely worth the investment, but it rewards precision above all else. The difference between a floor that looks handsome and one that looks extraordinary is almost always in the preparation and the setting out, not the material itself.
Plan your expert herringbone installation with confidence
Herringbone flooring is one of the most rewarding investments you can make in your home, but it demands the right approach from the very first measurement. Every step in this guide, from moisture testing to the final coat of oil, exists to protect that investment.

At Acland Wood Flooring, we work exclusively with wood floors, which means every job we take on benefits from focused expertise rather than a generalist approach. Whether you are weighing up materials, planning a room layout, or ready to book an installation, our team is here to help. As wood flooring specialists in Glasgow, we offer honest advice, precise installation, and a finish that lasts. Get in touch today to discuss your project.
Frequently asked questions
Can I install herringbone flooring myself, or should I always use a professional?
DIY is possible for skilled and patient enthusiasts, but most homeowners achieve a better result and avoid expensive errors by using a professional fitter, particularly given the precision herringbone demands.
How long does it take to install herringbone flooring in a typical room?
A professional team can usually complete a standard room in 1 to 3 days, depending on room shape, the condition of the subfloor, and the complexity of the layout.
What kind of subfloor is best for herringbone installation?
A clean, level, and dry subfloor, whether plywood, concrete, or screed, is essential. Moisture checks are non-negotiable, as confirmed by installation preparation guidance.
Will herringbone flooring work in small rooms?
It can work beautifully, but herringbone can overwhelm small spaces if the plank width is too large. Expert advice on scaling the pattern to the room makes all the difference.