
Many Glasgow homeowners invest in beautiful wood flooring only to end up with uneven surfaces, unsightly gaps, or boards that warp within months. The culprit is almost always improper installation rather than poor materials. A correctly installed wood floor not only looks stunning on day one but continues to perform for decades, adding genuine value to your home. This guide walks you through every stage, from selecting the right tools to applying the final coat, so you can approach your project with real confidence.
Key Takeaways
| Point | Details |
|---|---|
| Preparation is crucial | Careful planning and correct tools prevent installation failures. |
| Follow a step-by-step process | A clear workflow ensures even, lasting, and beautiful wood floors. |
| Avoid common mistakes | Watch for classic errors like skipping acclimatisation or not allowing expansion gaps. |
| Quality aftercare matters | Routine cleaning and protective finishes prolong your floor’s lifespan and beauty. |
What you need before starting your wood floor installation
Good preparation separates a floor that lasts twenty years from one that starts failing within twelve months. Site preparation and correct material selection are crucial for wood floor longevity, particularly in Scotland where damp conditions can wreak havoc on poorly chosen or poorly fitted boards.
Before you lift a single plank, gather the following essentials:
- Moisture meter — Scotland’s climate makes subfloor moisture readings non-negotiable
- Flooring spacers — to maintain a consistent expansion gap around the perimeter
- Pull bar and tapping block — for locking planks together without damage
- Jigsaw or mitre saw — for accurate cross-cuts and angle cuts around door frames
- Adhesive or flooring nails — depending on your chosen installation method
- Underlay — acoustic and moisture-resistant underlay suited to your subfloor type
- Straight edge and spirit level — to verify your subfloor is flat before you begin
Understanding which type of flooring you are working with matters enormously. There are top wood flooring types available for Scottish homes, and the two most common are solid wood and engineered wood. Solid wood is milled from a single piece of timber and is more susceptible to moisture movement. Engineered wood features a real wood top layer bonded to stable composite layers beneath, making it far better suited to Scotland’s fluctuating humidity levels.
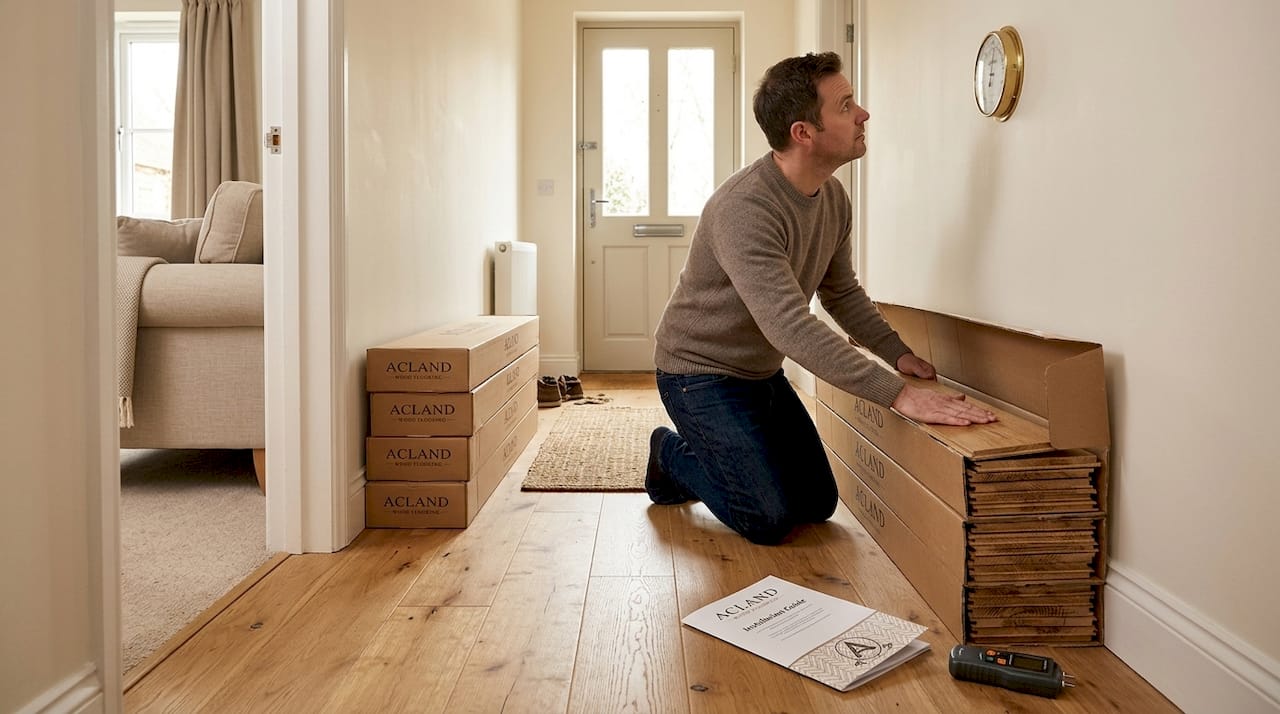
One of the most overlooked steps is acclimatisation. Wood is a living material that expands and contracts with changes in temperature and humidity. Leave your flooring in the room where it will be installed for a minimum of 48 hours, ideally 72. Stack the packs loosely to allow air to circulate around every board.
| Subfloor type | Moisture tolerance | Recommended check |
|---|---|---|
| Concrete screed | Low | Moisture meter reading below 75% RH |
| Timber joists | Medium | Boards secure and level |
| Existing vinyl | Variable | Ensure bond is firm and surface flat |
| Underfloor heating | Variable | Confirm compatibility with flooring type |
Pro Tip: Inspect every plank for warping, splits, or discolouration before you begin. Fitting a flawed board in the middle of a room means pulling everything apart to replace it later.
Step-by-step wood floor installation process
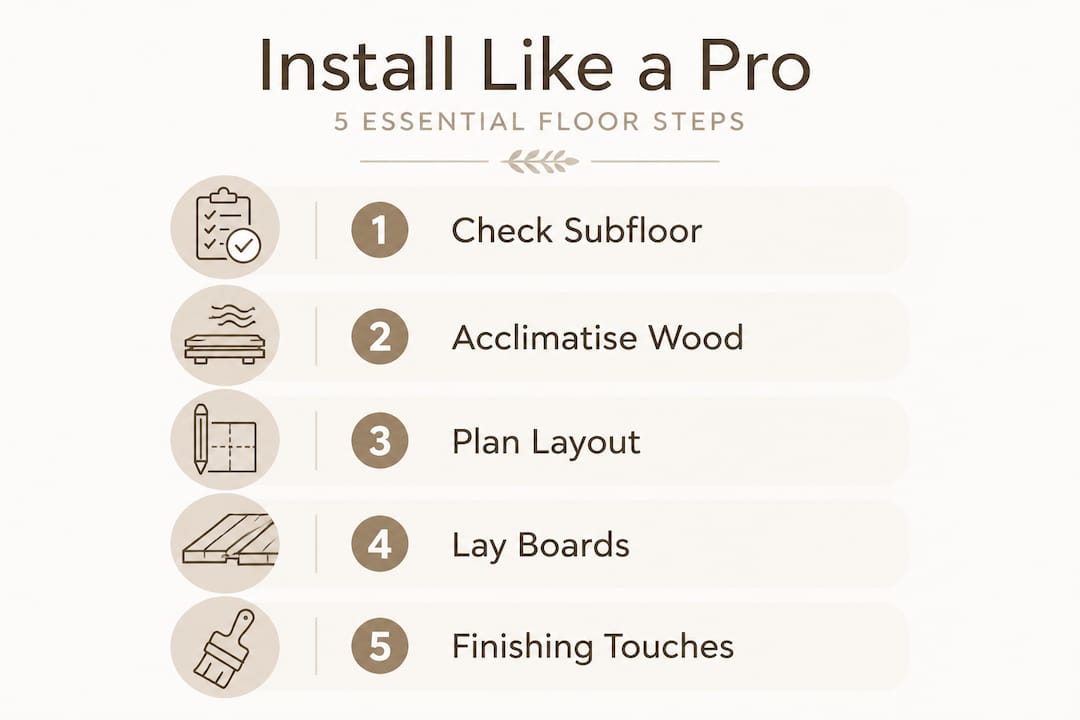
With everything prepared, it is time to install your new wood floor step by step. Following a clear plank floor fitting steps sequence ensures even results and prevents common fitting errors that frustrate so many DIY projects.
Start by planning your layout carefully. Lay your first row parallel to the longest wall in the room or parallel to the main light source from a window, whichever gives the most visually pleasing result. Dry-fit several rows without adhesive or nails first. This lets you plan where cuts fall and ensures no row ends with a piece shorter than 30 centimetres, which looks awkward and weakens the floor’s structure.
Installation steps:
- Lay your underlay — roll it out perpendicular to the direction of your planks, taping joins securely
- Set your expansion spacers — place them along every wall and fixed obstacle before your first row goes down
- Fit the first row — begin in a corner, groove side facing the wall, and secure according to your chosen method
- Stagger your joins — offset end joints between rows by at least 30 centimetres for structural strength and visual appeal
- Work row by row — tap each plank gently into position using your tapping block to protect the tongue
- Cut the final row — measure carefully and rip planks lengthwise to fit the remaining gap, accounting for the expansion gap
- Remove spacers and fit skirting or beading — this covers the gap and gives the floor a clean, finished edge
The method you use to secure the floor affects both the installation process and the long-term result. If you are exploring pattern floors such as parquet, the herringbone installation guide covers the more complex layout planning that style demands.
| Method | Best for | Skill level |
|---|---|---|
| Floating (click-lock) | Engineered over underlay | Beginner |
| Glued down | Solid or engineered on concrete | Intermediate |
| Secret nailed | Solid onto timber subfloor | Advanced |
Pro Tip: Maintain a consistent expansion gap of at least 10 to 15 millimetres along all edges. Scotland’s humidity swings mean your floor will move seasonally, and without adequate space, boards will buckle.
Avoiding common mistakes and troubleshooting installation problems
Having followed the installation steps, it is vital to check your work for common mistakes. These are the issues that most frequently ruin a DIY wood floor project, and most of them are entirely preventable.
‘Never attempt installation without checking subfloor moisture. A single wet reading beneath an otherwise perfect floor will cause cupping, gapping, or full board failure within months.’
Cupping occurs when boards absorb moisture from below, causing the edges to rise higher than the centre. Gapping appears between boards when the wood dries out and contracts, often caused by insufficient acclimatisation. Peaking happens when boards push against each other along their length due to inadequate expansion gaps. Squeaking and creaking after fitting usually points to boards that were not pressed firmly together or an uneven subfloor beneath.
Common mistakes to avoid common wood flooring errors for lasting results include:
- Skipping acclimatisation entirely or doing it in a different room
- Failing to flatten the subfloor before installation, leaving high spots greater than 3 millimetres over 1.8 metres
- Omitting expansion gaps along walls, pipes, or door frames
- Using the wrong adhesive for the subfloor or flooring type
- Rushing the dry-fit and ending up with poor plank placement near doors or focal points
- Ignoring manufacturer guidance on underfloor heating compatibility
Pro Tip: Use a long straight edge regularly as you progress across the room. Lay it diagonally across your planks and look for any boards sitting proud or dipping low. Catching alignment issues early saves hours of remedial work.
Finishing touches and post-installation care
You have installed your floor, so here is how to guarantee it stays looking its best. Floor lifespan expectations vary considerably depending on the quality of aftercare, and finishing and caring for your wood floor maximises its lifespan and enhances its appearance over many years.
Begin by thoroughly cleaning the surface with a soft brush or dry microfibre cloth to remove all dust and debris from fitting. Wait at least 24 hours before applying any finishing product to ensure the floor has settled.
Choose your finish based on the look and durability you want. Hard wax oil gives a natural, matte appearance and is easy to spot-repair. Lacquer provides a durable, sealed surface that resists everyday scuffs well. Penetrating oil nourishes the wood deeply and is popular for wide-plank floors where a tactile, natural feel matters.
Recommended aftercare actions:
- Fit felt pads beneath all furniture legs before moving anything onto the floor
- Wait a minimum of 48 hours after applying oil or lacquer before placing rugs
- Use a wood-specific pH-neutral cleaner rather than standard household mops or steam cleaners
- Maintain indoor humidity between 40 and 60 per cent year-round to reduce board movement
- Re-oil or re-wax the floor annually in high-traffic areas to maintain protection
Do not move heavy furniture onto the floor until the finish has fully cured, typically 5 to 7 days for oils and 24 to 48 hours for lacquers.
Why professional installation delivers better results — what most DIYers underestimate
There is something genuinely satisfying about installing your own wood floor. We understand the appeal completely. But after years of working with floors across Glasgow and Central Scotland, we have seen a consistent pattern: the steps that homeowners underestimate are almost always the ones that cause problems.
Subfloor preparation is the biggest. Most guides mention it briefly, but a professional will spend as much time flattening, priming, and drying a subfloor as they will fitting the actual boards. It simply is not glamorous work, but it is the foundation for everything above it.
Complex layouts are another area where experience makes an enormous difference. Running boards in a straightforward parallel pattern is manageable for a careful DIYer. But fitting around island units, door frames, hearths, or open-plan spaces with multiple angles requires spatial planning and cutting precision that takes real practice. Mistakes in these areas waste expensive material and create visible irregularities you will notice every day.
Then there is the question of modern wood floor styles that are increasingly popular. Herringbone, chevron, and feature border designs require millimetre-accurate cutting and sequencing. A small error in the first few rows compounds across the entire room.
Our honest view: for straightforward rectangular rooms with engineered click-lock boards, a confident DIYer can achieve a good result with careful preparation. But for premium solid wood, complex layouts, or high-value homes where the floor is a centrepiece, professional fitting protects your investment and delivers a standard of finish that is genuinely difficult to replicate without specialist tools and experience.
Ready for flawless wood floors? Expert fitters in Glasgow can help
If this guide has shown you just how much detail a perfect wood floor installation involves, you are not alone in wanting expert hands on the job.

At Acland Wood Flooring, we supply and fit premium wood floors across Glasgow and Central Scotland, from classic planks to intricate patterns. Whether you are still deciding on the right material or ready to book a fitting, we are here to help. Browse our range of stylish wood floor options for inspiration, or explore the Glasgow flooring choices best suited to Scotland’s climate. Get in touch for honest advice and a tailored quote with no pressure.
Frequently asked questions
How long should wood flooring acclimatise before installation?
Wood flooring should acclimatise in the installation room for at least 48 hours, and ideally 72 hours, to prevent expansion or shrinking after fitting.
What is the best wood floor type for humid Scottish homes?
Engineered wood flooring is best suited to humid climates and copes particularly well with the temperature and moisture variations common in Glasgow and Central Scotland homes.
Can I lay wood floor over existing floorboards?
You can install over old boards if they are level, dry, and securely fixed. Loose or uneven boards beneath your new floor will cause squeaking and movement over time.
How do I handle expansion gaps?
Maintain a consistent expansion gap around edges of at least 10 to 15 millimetres to accommodate natural wood movement and prevent buckling, particularly important in Scotland’s variable climate.