
Specifying artisan wood floors looks straightforward until the boards start cupping three months after installation. The truth is, knowing how to specify artisan wood floors correctly requires far more than picking a species and a stain. Get the substrate wrong, skip a moisture test, or underestimate a finish’s maintenance demands, and even the most expensive boards will fail. This guide covers the full specification process: materials and grading, moisture management, layout and pattern design, finish selection, and installation verification. Whether you are a homeowner making a once-in-a-decade decision or a design professional writing a formal spec, this is where to start.
Key takeaways
| Point | Details |
|---|---|
| Moisture testing is non-negotiable | Test in-slab relative humidity using ASTM F2170 before specifying any wood floor over concrete. |
| Grading shapes appearance and suitability | Wood floor grades define the frequency of knots and natural character, directly affecting suitability for residential or commercial use. |
| Pattern scale must be specified precisely | State board dimensions and layout geometry explicitly to avoid costly misinterpretation on site. |
| Finish type determines maintenance cycles | Oil-based polyurethane lasts 7 to 10 years; water-based lasts 3 to 5. Match finish to traffic levels from the outset. |
| Full spec documents prevent site errors | Clear written specifications reduce contractor guesswork and protect the integrity of the finished floor. |
How to specify artisan wood floors: starting with materials
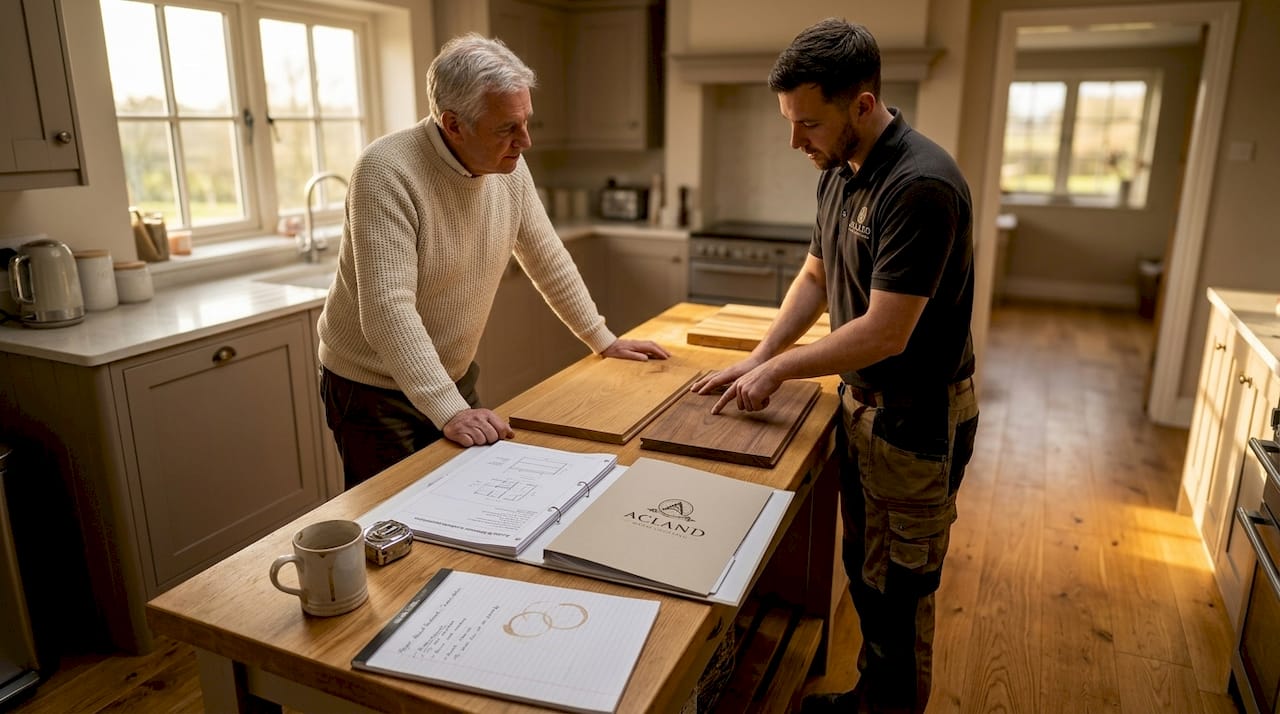
The first decision in choosing artisan wood floors is understanding what you are actually specifying. Solid hardwood and engineered wood behave very differently, and the wrong choice for a given environment will cause problems regardless of quality.
Solid hardwood is milled from a single piece of timber. It can be sanded and refinished multiple times over decades, which suits long-term residential investment. However, solid hardwood over concrete requires a proper moisture barrier and subfloor preparation before installation, making it less flexible in moisture-prone environments like Scotland’s older housing stock.
Engineered wood uses a real hardwood veneer bonded to a cross-ply plywood core. This structure gives it greater dimensional stability across humidity changes. When specifying engineered boards, the veneer cut matters considerably:
- Sawn-cut veneers are the thickest and most stable, offering the closest appearance to solid hardwood
- Sliced veneers balance character and cost, with consistent grain direction
- Rotary-peeled veneers are the thinnest and least stable, best avoided in artisan applications where appearance and longevity are priorities
Wood species selection also shapes the specification. Oak offers reliable hardness and wide availability. Walnut delivers darker tones with a finer grain. Ash reads as bright and contemporary. Each species responds differently to humidity, so aligning species choice with the installation environment is part of getting the spec right.
Wood floor grades group boards by the frequency, size, and type of natural characteristics such as knots, mineral streaks, and colour variation. A Prime or Select grade gives a clean, consistent look with minimal character. A Rustic or Character grade embraces knots and variation. Neither is superior. What matters is specifying the grade that aligns with the design intent and the client’s expectations. A commercial hospitality project may call for Prime grade to read as polished and uniform. A traditional Scottish home might suit a Natural or Character grade far better.
Moisture testing and substrate preparation
Moisture is the single most common cause of artisan wood floor failure, and it almost always comes down to inadequate specification rather than poor product quality. Moisture-related failures such as cupping, buckling, and gapping are hygroscopic responses. The wood absorbs vapour rising from the concrete slab beneath and expands unevenly.
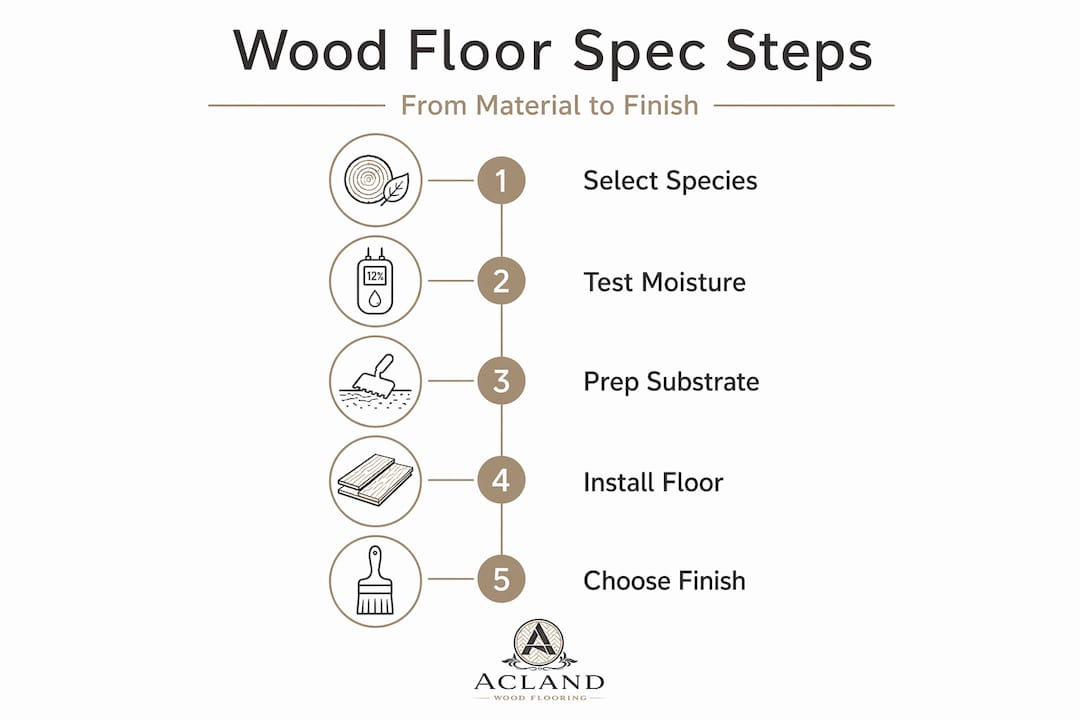
The specification must define the test method, the acceptable threshold, the mitigation approach, and the barrier type. Stating only an RH limit is not enough. As a complete moisture specification must align with both the adhesive and the flooring manufacturer’s requirements, the entire system needs to be documented together.
| Test standard | Method | Threshold for hardwood | Notes |
|---|---|---|---|
| ASTM F2170 | In-situ RH probe at 40% slab depth | ≤75 to 85% RH | 24-hour equilibration required before reading |
| ASTM F1869 | Calcium chloride (MVER) | Per manufacturer spec | Surface-level only; less predictive than F2170 |
The ASTM F2170 test is preferred because it measures relative humidity inside the slab rather than at its surface. This gives a far more accurate forecast of what the floor will experience after installation. Surface tests can give a misleadingly low reading while significant moisture remains deeper in the concrete.
For solid hardwood, specify a minimum 6-mil polyethylene vapour retarder over the slab, followed by a plywood subfloor. For glued-down engineered wood, in-slab RH below 75 to 80% is required, with a compatible adhesive. For floating engineered installations, specify a foam or vapour barrier underlayment. Where RH exceeds thresholds, topical epoxy moisture suppression systems can be used, but must be specified by product name and confirmed compatible with the adhesive system.
Pro Tip: Never carry out moisture testing on a freshly poured slab. Allow sufficient curing time and test under occupied conditions, with HVAC systems running, to get readings that reflect actual service conditions.
Layout, pattern scale, and design specification
Artisan wood floors earn their name through pattern and craftsmanship. Specifying the layout is not just an aesthetic decision. It directly affects material waste, installation complexity, and how the floor reads in a finished space.
The most widely used artisan patterns each suit different contexts:
- Herringbone creates directional movement and suits formal rooms and hallways; a detailed herringbone layout requires careful centring from a datum point to avoid awkward cuts at the perimeter
- Chevron reads as more geometric and contemporary than herringbone, with boards cut at an angle to meet at a precise point
- Parquet works well in smaller spaces where the intricate block geometry becomes a focal point
- Checkerboard suits larger rooms; 12-inch squares are a reliable default for maintaining visual balance without feeling overwhelming
In open-plan spaces, specify transition zones explicitly. Where a herringbone hall meets a straight-laid living area, the transition detail needs to be drawn and agreed before installation begins. Without this in the specification, contractors make arbitrary decisions that undermine the design.
Pro Tip: Specify the starting datum line and the direction of lay relative to the main window or entrance. On site, this prevents the installer from defaulting to what is easiest rather than what looks best.
Explore wood floor design ideas for inspiration on combining pattern scale and species choice in different room types.
Finish selection and protection
The finish is what the floor wears every day, and it is routinely under-specified. Choosing the wrong finish for the traffic level or the species creates a floor that looks tired within two years.
| Finish type | Durability | Maintenance cycle | Best suited for |
|---|---|---|---|
| Oil-based polyurethane | 7 to 10 years | Low; periodic buffing | Residential, moderate traffic |
| Water-based polyurethane | 3 to 5 years | Low; more frequent recoating | Residential, lighter traffic |
| Penetrating oil or hard wax oil | 1 to 3 years | Higher; regular re-oiling | Traditional, character-grade boards |
Finish durability depends strongly on chemistry and traffic. Oil-based polyurethane delivers a harder, more amber-toned film. Water-based finishes dry clear and harder but require more frequent recoating. Penetrating oils sink into the wood grain rather than forming a surface film, which suits rustic or character-grade artisan floors particularly well because it accentuates natural variation.
For light commercial use, specify a commercial-grade water-based polyurethane with a minimum of three coats and a clearly stated recoat schedule. For residential artisan floors where the grain character matters as much as the protection, hard wax oil is worth the higher maintenance commitment. Whatever you choose, the finish specification should state the product name, the number of coats, the sheen level, and the expected recoat interval.
Two common pitfalls in finish specification: applying an oil-based product over a previously water-based coat without stripping back to bare wood, and failing to account for the species’ tannin content when choosing a finish. Oak and walnut react differently to certain oil formulas, and this needs to be confirmed with the manufacturer before specifying.
Installation methods and quality verification
A well-written spec closes the gap between design intent and what actually gets built. The installation method must be matched to the floor type and substrate combination.
- Specify nailed installation for solid hardwood over timber subfloors, with fastener spacing defined by board width
- Specify glued installation for engineered hardwood over concrete, including the adhesive product reference and trowel notch size
- Specify floating installation for engineered boards where the substrate is uneven or moisture levels are borderline, referencing the underlayment product and manufacturer guidance
Quality control measures worth including in the specification:
- Acceptable lippage tolerance (typically no more than 0.5mm between adjacent boards for artisan installations)
- Acclimatisation period for boards before installation (typically 48 to 72 hours on site in finished conditions)
- A snagging inspection clause requiring the installer to walk the floor under raking light before sign-off
Maintenance requirements should also appear in the specification, not as an afterword but as a formal requirement. This matters for warranty compliance and for handover to the client or facilities team. The long-term durability of engineered floors depends as much on correct ongoing care as it does on correct installation.
My honest view on specification mistakes
In my experience, the two most expensive words in artisan wood flooring are “assumed OK.” I have seen beautifully specified boards fail because the moisture test was done before the building was weathertight, or because the spec document said “polyurethane finish” without naming a product or stating a sheen level.
Moisture management is the cornerstone that most specifications skip or understate. It is not glamorous. It sits in the technical footnotes while the pattern choices and species discussions take centre stage. But the floor’s survival depends on getting it right.
I also see finish choices consistently underestimated. Clients want the look of a matte oil finish but do not want the upkeep. That tension needs to be resolved at specification stage, not after installation when expectations have already been set.
Clear, complete documents are not bureaucratic overhead. They are the only reliable way to communicate intent across the contractor chain. Every ambiguity in a specification becomes a decision made by someone else on site, often someone who has never seen the design drawings.
— John
Take the next step with Aclandwoodflooring
If this guide has clarified what goes into a proper artisan wood floor specification, the natural next step is getting the substrate and installation method right from the outset.

Aclandwoodflooring has built its reputation in Glasgow on exactly this kind of detail-first approach. Their wood floor layering methods guide covers substrate preparation and installation layering in practical depth, while their species overview for Glasgow homeowners helps you match wood character to your environment and design intent. For contemporary residential projects, the modern home style guide offers design direction grounded in real installation experience. A professionally installed artisan floor does more than look good. It adds measurable value to any property. Contact Aclandwoodflooring to discuss your project with a specialist who works exclusively in wood.
FAQ
What are artisan wood floors?
Artisan wood floors are premium timber floors characterised by skilled craftsmanship, often featuring intricate patterns such as herringbone, chevron, or parquet, and specified with attention to grade, species, and finish for a bespoke result.
Why does moisture testing matter before installation?
Moisture vapour rising from concrete slabs causes solid and engineered wood to cup, buckle, or gap. Testing using ASTM F2170 measures in-slab relative humidity at 40% depth and gives a reliable forecast of conditions after the floor is laid.
What moisture level is acceptable under hardwood flooring?
For most hardwood flooring over concrete, in-slab relative humidity should be at or below 75 to 85% RH, though the exact threshold depends on the product manufacturer’s requirements and the installation method specified.
How often does an artisan wood floor need refinishing?
This depends on the finish. Oil-based polyurethane typically lasts 7 to 10 years, water-based polyurethane 3 to 5 years, and penetrating oil or hard wax oil finishes require reapplication every 1 to 3 years depending on traffic.
What installation method suits artisan wood floors best?
The method depends on the substrate and board type. Solid hardwood suits nailed installation over timber subfloors, engineered hardwood suits glue-down over concrete, and floating installation suits engineered boards where moisture levels are borderline or substrates are uneven.