
Getting your measurements wrong before a wood flooring project is one of the most expensive mistakes you can make. Order too little and you face delays tracking down matching stock. Order too much and you waste money on material sitting in a skip. Knowing how to measure for wood flooring accurately, what professionals call a floor area calculation, is the single most important step before you spend a penny on product. This guide covers the right tools, simple rooms, irregular spaces, waste allowances, and subfloor checks so you arrive at your installer or supplier with confident, correct figures.
Key takeaways
| Point | Details |
|---|---|
| Always use metres | Work in metric units throughout to match UK supplier pack sizes and avoid conversion errors. |
| Sketch first, measure second | Drawing a rough plan of the room before measuring helps you spot irregular sections you might otherwise miss. |
| Add a waste allowance | Apply at least 10% extra for standard layouts and 15% or more for diagonal or herringbone patterns. |
| Check subfloor flatness | Measure and correct any high or low spots before laying boards to protect your installation and warranty. |
| Round up to full boxes | Always round your final figure up to the nearest full box quantity to avoid a shortfall mid-project. |
How to measure for wood flooring: essential tools first
Before you take a single measurement, gather the right equipment. Working with poor tools produces unreliable figures, and unreliable figures cost money.
What you need:
- A steel tape measure (at least 5 metres)
- Pencil and a notepad or graph paper
- A calculator (or phone)
- A long straightedge or spirit level (for subfloor checks)
- A laser level (optional, but highly recommended for large or irregular rooms)
In the UK, always work in metres and square metres. Your supplier will quote pack coverage in square metres, so keeping everything metric avoids conversion mistakes. A good wood flooring measurement guide will always specify metric units for this reason.
Before you start, clear as much furniture as you safely can and note any fixed obstacles such as kitchen islands, hearths, or built-in wardrobes. These areas need to be subtracted from your total later.
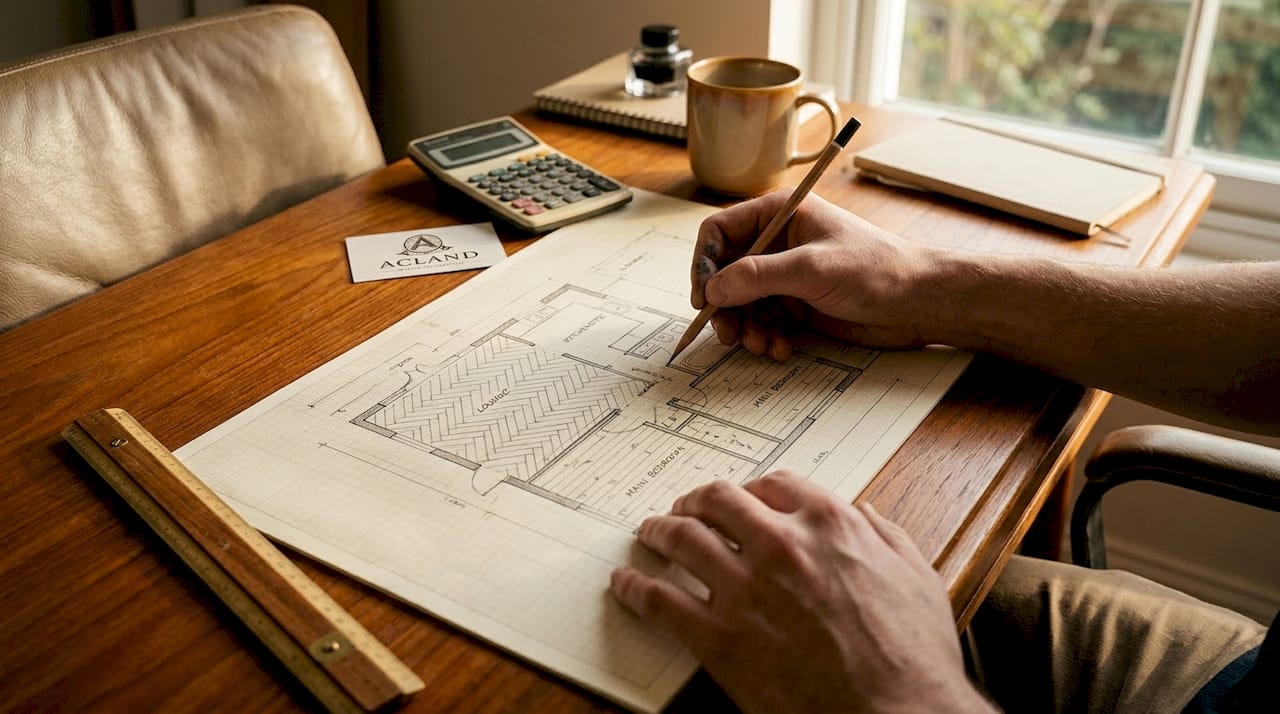
Pro Tip: Sketch the room on graph paper before you pick up the tape. Even a rough outline with labelled walls helps you think systematically and avoids overlooking alcoves or doorways.
Measuring a simple rectangular room
Most rooms have at least one straightforward rectangular section, and the core calculation is always the same. Measure the longest length and widest width, then multiply the two figures together to get your floor area in square metres.
Here is the step-by-step process:
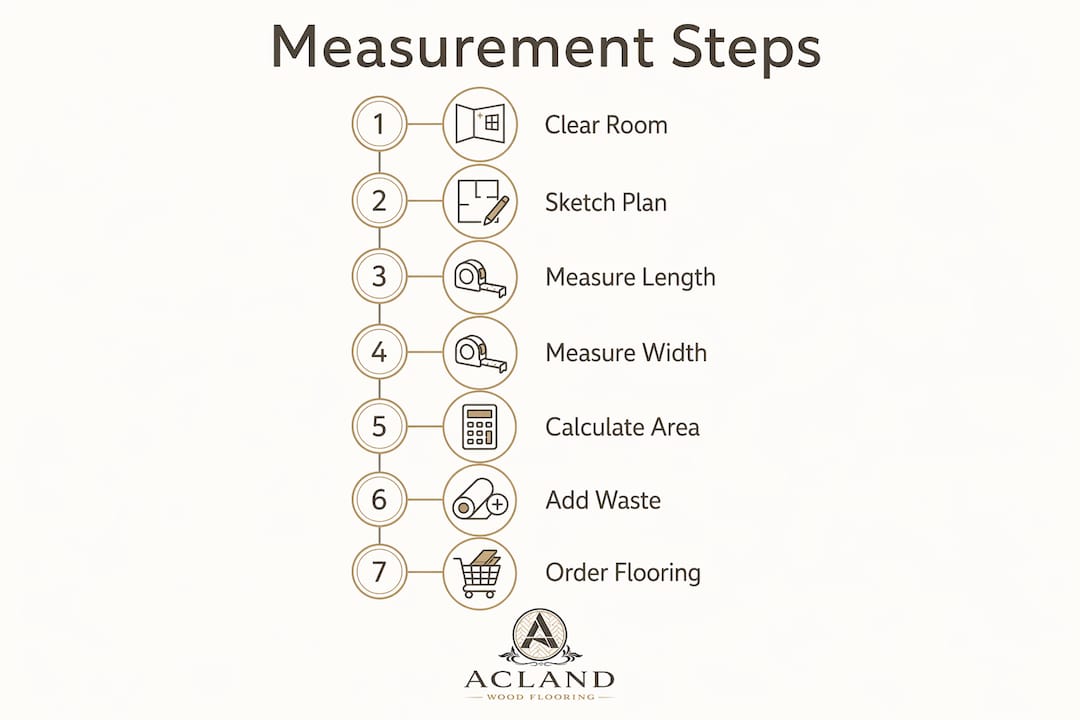
- Measure the longest wall from corner to corner and record the figure in metres.
- Measure the widest wall perpendicular to the first and record that figure.
- Multiply length × width to get your area (e.g., 4.2 m × 3.8 m = 15.96 m²).
- Take a second measurement of each wall at a different point along the room. Walls are rarely perfectly parallel, so averaging two readings improves accuracy.
- Include doorways and closets in your measurement rather than deducting them. The flooring needs to run underneath door frames and into recesses, so this small addition is intentional.
Record every figure as you go. Do not rely on memory. A simple table in your notepad with wall labels and measurements takes two minutes and prevents the most common arithmetic errors.
Pro Tip: Measure twice, write once. If your two length readings differ by more than 20 mm, re-check both before proceeding. A difference that large usually means the tape slipped or caught on a skirting board.
Measuring L-shaped, bay, and irregular rooms
This is where most DIYers run into trouble. An irregular room measured as a single rectangle will almost always produce an inaccurate figure, usually an overestimate that wastes money or an underestimate that leaves you short.
The solution is the sectional method. Breaking irregular spaces into rectangles and treating each as its own mini-measurement is the approach preferred by flooring professionals to avoid systemic underestimation in complex rooms.
- Draw a sketch of the room and divide it into simple rectangles using pencil lines.
- Label each section (A, B, C, and so on).
- Measure the length and width of each section separately.
- Calculate the area of each section individually.
- Add all section areas together for your total floor area.
For bay windows, measure the widest point and the deepest point from the main wall into the bay. Calculate that as a separate rectangle and add it to your total.
For stairs, the calculation is slightly different. Tread area plus riser area multiplied by the number of steps gives your stair flooring area. Measure one tread depth and one riser height, multiply each by the stair width, add them together, then multiply by the number of steps.
| Room type | Measurement method | Common mistake to avoid |
|---|---|---|
| Rectangular room | Length × width | Not averaging two wall readings |
| L-shaped room | Divide into two rectangles, add areas | Measuring the bounding rectangle instead |
| Bay window | Separate rectangle for bay, add to main area | Ignoring the bay entirely |
| Staircase | (Tread + riser) × width × number of steps | Measuring only treads, forgetting risers |
Pro Tip: For L-shaped rooms, you can also calculate the large bounding rectangle and subtract the missing corner. Either method works. Choose whichever feels more natural for the shape in front of you.
Estimating waste and ordering the right amount
Getting the square metres right is only half the job. You also need to account for waste from cuts, off-cuts that cannot be reused, and the occasional damaged board.
Adding 10% for standard layouts and 15% or more for diagonal or herringbone patterns is standard industry practice. These allowances cover cuts at walls, angled cuts around obstacles, and material lost to damage during fitting.
Here is how waste affects your order:
- Standard straight lay: multiply your area by 1.10 (10% waste)
- Diagonal lay or herringbone: multiply your area by 1.15 to 1.20 (15 to 20% waste)
- Complex rooms with many cuts: consider 20% to be safe
Once you have your adjusted figure, round up to the next full box when placing your order. Half a box is not available from most suppliers, and a shortfall mid-installation can mean weeks waiting for matching stock.
Pro Tip: Keep any leftover boards after the job is done. Store them flat in a dry place. If a board gets damaged years later, you will have an exact match for a repair rather than hunting for discontinued stock.
Checking your subfloor flatness
Accurate measurements do not stop at room dimensions. Before laying any wood floor, you need to verify that your subfloor meets the flatness tolerances required for your chosen installation method.
Treating flatness as a measurable standard rather than vague judgment improves installation success and protects any manufacturer warranty. Here is how to check it properly.
- Set up a laser level at one end of the room and project a horizontal reference line across the floor.
- Walk the room systematically in 300 mm to 600 mm strips.
- Use a straightedge or simply note where the laser line sits above the floor surface.
- Mark high spots and low spots with chalk or tape.
- Measure the deviation at each marked point.
A laser level scanning the entire room at once is far more reliable than a 6-foot straightedge, which measures only a narrow strip and can miss isolated high or low spots elsewhere.
| Installation method | Acceptable deviation |
|---|---|
| Nail-down | 6 mm per 3 metres |
| Glue-down | 3/16" per 10 ft (approx. 5 mm per 3 m) |
| Floating | Manufacturer specification (typically 3 to 5 mm per 2 m) |
A subfloor that exceeds these tolerances will cause boards to flex, squeak, and potentially fail at the joints. Correct high spots by grinding down; fill low spots with levelling compound before you lay a single board.
My honest take on measuring wood floors
I have reviewed enough flooring projects to say this with confidence: the sketch is the single most underrated step in measuring for hardwood installation. Most DIYers pick up the tape before they have even thought about the room shape. They end up with a list of numbers but no clear picture of how those numbers relate to each other.
In my experience, the sectional approach described above prevents costly errors more reliably than any other technique. I have seen homeowners avoid common flooring errors simply by spending ten minutes with a pencil and graph paper before they touched the tape.
The other thing I would stress is subfloor preparation. People focus on getting the area figure right and then rush the subfloor check because they are keen to start laying. That is backwards. A precise floor area calculation means nothing if the boards are going down on an uneven surface.
Patience at the measuring stage is not caution. It is the thing that makes the rest of the project run smoothly.
— John
Ready to put your measurements to work?
Once you have your floor area figures, waste allowances, and subfloor notes in hand, the next step is choosing the right product and installation method for your space. Aclandwoodflooring has detailed guides covering everything from floating floors through to glue-down and nail-down techniques.

Whether you are laying boards in a Glasgow living room or specifying a floor for underfloor heating, the Aclandwoodflooring team can help you translate accurate measurements into the right product choice. Browse the wood floor installation guide for step-by-step fitting instructions, or explore the layering methods guide to find the right approach for your subfloor type. If you need bespoke advice, get in touch with the team directly.
FAQ
How do I calculate the area of a room for wood flooring?
Multiply the room length by the room width in metres to get the floor area in square metres. For irregular rooms, divide into rectangles and add the areas together.
How much extra should I order for waste?
Add 10% for standard straight-lay installations and at least 15% for diagonal or herringbone patterns. Always round your final figure up to the nearest full box.
What tools do I need for measuring wood floors?
A steel tape measure, pencil, graph paper, and a calculator cover the basics. A laser level is worth adding for larger rooms or subfloor flatness checks.
Why does subfloor flatness matter before laying wood flooring?
Boards laid on an uneven subfloor will flex, squeak, and can fail at the joints over time. Most manufacturers specify a maximum deviation, typically around 3 to 6 mm per 3 metres, depending on the installation method.
Can I measure rooms for wood flooring myself, or do I need a professional?
Most homeowners can measure accurately using the methods in this guide. Where rooms are particularly complex or involve stairs, having a professional check your figures before ordering is worth the time.