
Plank flooring can utterly transform a tired room, turning it from flat and forgettable into something warm, characterful, and genuinely impressive. But installation mistakes are costly, both in time and money, and they are far more common than most homeowners realise. Whether you are considering a DIY project or simply want to understand the process before hiring someone, getting the sequence right matters enormously. This guide walks you through every stage, from gathering materials to avoiding the pitfalls that catch out even experienced DIYers across Glasgow and Central Scotland.
Key Takeaways
| Point | Details |
|---|---|
| Prepare thoroughly | Everything from tools to climate acclimation plays a role in a perfect floor. |
| Follow the sequence | Sticking to each step ensures a professional, clean result. |
| Choose the right method | Match your approach to your room and home age for best results. |
| Avoid common pitfalls | Make sure to allow expansion and double-check your groundwork. |
What you need before starting: materials, tools and preparation
Before a single plank touches the floor, you need the right equipment and a solid plan. High humidity in Glasgow requires weather-adapted materials, so choosing the correct species and finish for your local conditions is the first real decision you will make. Rushing past this stage is where most projects go wrong.
Here is what you will need for a standard installation:
- Planks (purchased with at least 10% extra for wastage)
- Moisture meter for testing your subfloor
- Underlay suited to your chosen installation method
- Spacers to maintain consistent expansion gaps
- Pull bar, tapping block, and rubber mallet
- Jigsaw or mitre saw for cutting planks to size
- Pencil, tape measure, and chalk line
Once your materials arrive, check out the full breakdown of plank flooring options to confirm your choice suits the room. Then read up on wood flooring installation basics before you open a single box.
| Preparation step | Why it matters |
|---|---|
| Acclimation (48 to 72 hours) | Prevents warping and gapping after fitting |
| Subfloor moisture test | Identifies damp that causes adhesive failure |
| Subfloor levelling | Avoids rocking planks and squeaks |
| Batch number check | Ensures colour consistency across packs |
Pro Tip: Skipping acclimation is the single most avoidable mistake. Leave your planks flat in the room where they will be fitted for at least 48 hours. In a Scottish home during winter with central heating running, wood can change dimension noticeably if you skip this step.
Step-by-step guide: installing plank flooring in detail
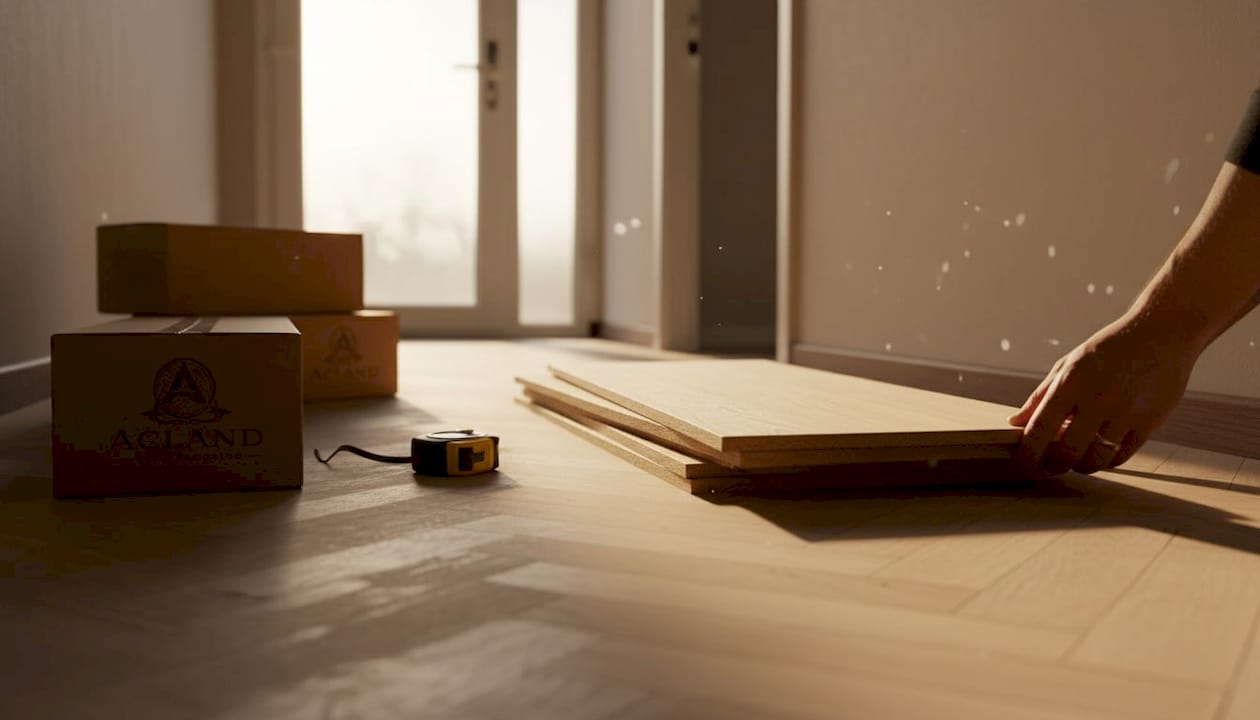
Following a structured procedure ensures a professional finish, and the sequence below reflects what seasoned fitters use on every job. Refer back to this detailed fitting guide as you work through each stage.
- Plan your layout. Work out the direction of your planks, typically running lengthways in the room. Mark a straight reference line with your chalk line.
- Lay the underlay. Roll it out perpendicular to the plank direction, taping joins and trimming at walls.
- Place your first plank. Start along the longest, straightest wall, groove facing inward, with spacers set against the skirting.
- Maintain expansion gaps. Keep a consistent gap of at least 10 to 12mm around all fixed edges. This gap accommodates natural wood movement.
- Stagger your joints. Each row should be offset by at least 300mm from the previous row’s end joint. Mix planks from several packs as you go for a natural look.
- Tap planks together firmly using your tapping block and mallet. Never strike the plank directly.
- Cut final rows to width with a jigsaw, always wearing appropriate PPE including safety glasses and gloves.
Safety reminder: Always wear eye protection and gloves when operating saws. Secure planks properly before cutting.
If you are considering a more intricate layout, the guide to installing herringbone floors is well worth reading alongside this one. You can also find a visual installation process overview to complement these steps.
Pro Tip: Use off-cuts from the ends of rows to begin the next row. It saves material and naturally creates the staggered pattern that gives a professional floor its authentic appearance.
Comparison of installation approaches: glue down, nail down, or floating
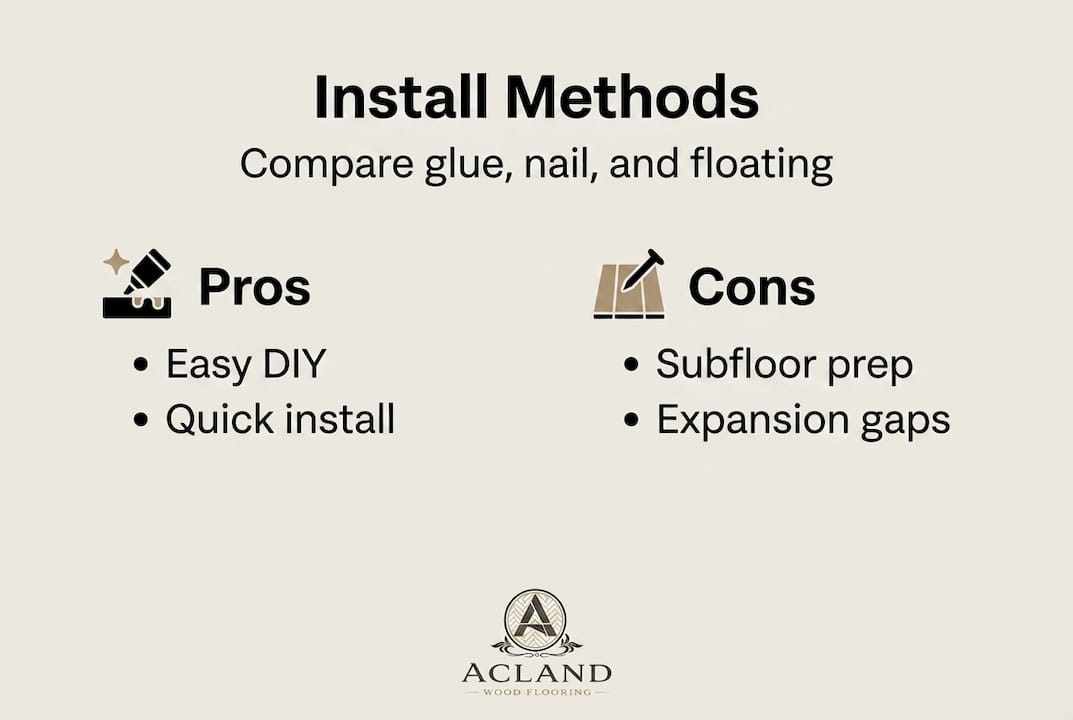
Choosing the right installation method is as important as choosing the right plank. Each approach suits different situations, and floating installations are popular for DIY projects due to ease of installation, but may not suit all rooms or plank types.
| Method | Difficulty | Relative cost | Best suited to |
|---|---|---|---|
| Floating | Low | £ | Underfloor heating, rentals, DIY |
| Glue down | Medium | ££ | Concrete subfloors, high-traffic rooms |
| Nail down | High | ££ | Solid wood, timber subfloors only |
Floating floors now represent over 60% of domestic wood floors fitted in the UK, driven largely by how accessible they are for homeowners. They click together without adhesive or fixings, making them straightforward to replace if sections are damaged.
Key considerations at a glance:
- Floating: Quick to fit, no specialist tools, but can feel slightly hollow underfoot in large open areas
- Glue down: Extremely stable, ideal over concrete, but difficult to remove later
- Nail down: Most traditional and solid feel, requires a timber subfloor and more skill
Browse the full range of installation service options if you are unsure which method suits your home. The right choice depends on your subfloor type, the plank species, and how permanent you want the installation to be.
Troubleshooting: common mistakes and how to avoid them
Knowing what can go wrong is genuinely as valuable as knowing what to do right. Improper expansion gaps are among the top reasons for failures in DIY plank flooring, and they are almost entirely avoidable with a little care.
The most common mistakes include:
- Skipping acclimation, leading to planks that expand after fitting and buckle
- Ignoring moisture readings on the subfloor, which causes adhesive and plank failure over time
- Insufficient expansion gaps, particularly around door frames and floor vents
- Misaligned planks in early rows, which compound into a visibly skewed floor by the far wall
- Mixing batches without checking numbers, resulting in visible colour variation across the floor
“The floor looked perfect on day one. By spring, the boards were lifting at the joins. We had left barely 5mm at the edges.” This kind of outcome is entirely preventable with proper planning.
For a thorough review of pitfalls, the guide to common installation errors is essential reading. You will also find helpful advice in this round-up of wood flooring mistakes from Real Homes.
Pro Tip: Use labelled plastic spacers rather than offcuts of wood to set your expansion gaps. Offcuts vary slightly in thickness and can give inconsistent results across a long wall. Measured spacers cost very little and take the guesswork out entirely.
Why proper planning beats speed in plank flooring installation
There is a temptation to treat flooring as a weekend job to be powered through. In our experience, this mindset is the root cause of most failed installations. Every re-do we have seen, every buckled board or misaligned row, traces back to someone skipping a stage because it felt unnecessary at the time.
Experienced fitters move deliberately. They check twice, measure three times, and never assume the subfloor is level simply because it looks flat. The homes that end up with floors they are proud of for decades are the ones where the owner treated the preparation phase with as much care as the installation itself. If you want expert advice for flooring that goes beyond the basics, patience and planning are always the answer.
Transform your home with professional plank flooring installation
If you have read this far and feel confident tackling the project yourself, that is exactly what this guide was designed to achieve. But if you want a guaranteed, flawless result without the risk of costly errors, professional installation is genuinely worth considering.

At Acland Wood Flooring, we supply and fit premium wood flooring installation for homes across Glasgow and Central Scotland. Our expert fitters in Glasgow bring the same methodical approach described in this guide, every single time. Browse our local fitting guide or get in touch to arrange a home survey and let us help you get it right.
Frequently asked questions
How long should wood planks acclimate before installation?
Planks must acclimate to room conditions to prevent post-installation expansion, so most manufacturers recommend at least 48 hours. Always check your specific product guidelines, as denser species may need longer.
What is the best method for fitting plank flooring in older homes?
Floating installations are versatile and DIY-friendly, making them ideal for older homes where subfloors may be uneven or timber joists are present. They cause minimal disruption and can be removed without significant damage.
Why do I need to leave an expansion gap when installing plank flooring?
Improper expansion gaps can cause floor failures because wood naturally expands and contracts with changes in temperature and humidity. A gap of 10 to 12mm around the perimeter gives the floor room to breathe.
Can I install new plank flooring over existing flooring?
Yes, but ensure the surface is flat, dry, and suitable for the chosen installation method. Preparation is essential to avoid future flooring issues, especially when adding height to the floor level.
What is the most common DIY mistake in plank flooring installation?
Failing to acclimate planks and skipping subfloor checks are the most cited mistakes. Avoid rushing acclimation and preparation, as these two steps alone prevent the majority of post-installation problems.